
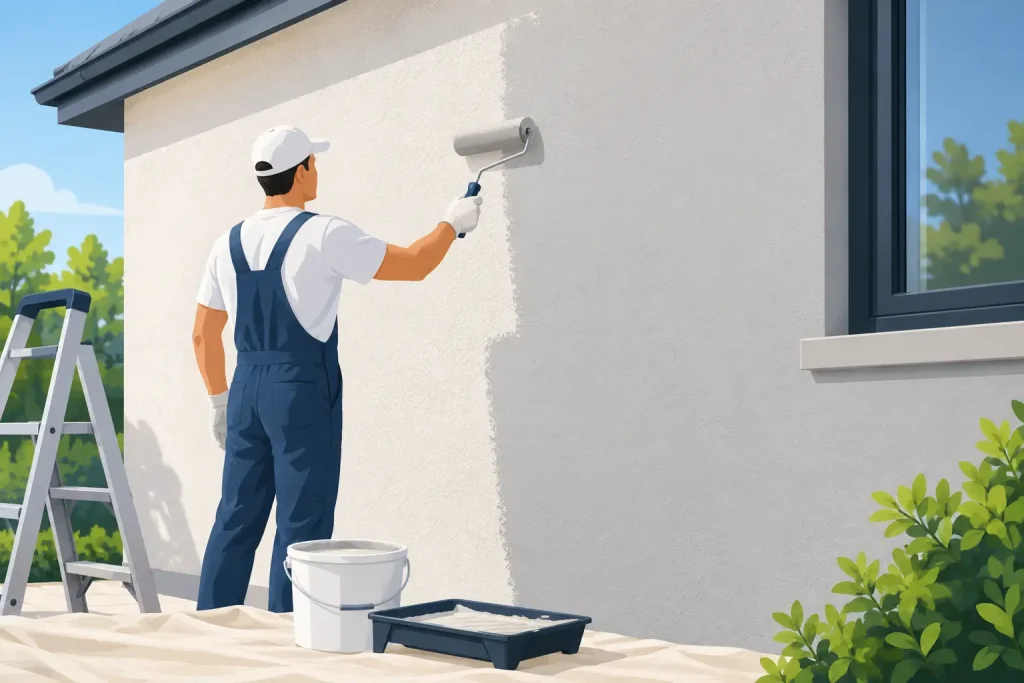
Hairline cracks, chalky patches and uneven absorption can quickly spoil a freshly painted rendered wall. Knowing how to paint rendered walls properly is less about applying paint quickly and more about preparing the surface, choosing a compatible system and allowing each stage to dry as required. Done properly, the finish protects the render and keeps the property looking maintained for years.
How to paint rendered walls: start with the substrate
Rendered walls are not all the same. Cement render, acrylic render and older lime-based render can each behave differently, particularly when exposed to Melbourne’s changing weather. Before selecting paint, establish whether the render is new, previously painted, damaged or showing signs of moisture.
New render needs adequate curing time before it is painted. Cement-based render commonly requires at least 28 days, although the render manufacturer and site conditions should always guide the final decision. Painting too early can trap moisture and lead to blistering, peeling or patchy colour later on.
Previously painted render needs a closer inspection. Rub a hand over the wall. If a powdery residue comes away, the surface is chalking and will need thorough cleaning and a suitable sealer before coating. Look closely for flaking paint, rust stains around fixings, mould, salt deposits and cracks. Paint will not correct these problems. It will simply cover them temporarily.
Moisture deserves particular attention. Damp patches, bubbling paint or recurring mould may point to leaking gutters, failed flashing, poor drainage or cracks allowing water behind the render. Fix the source before painting. Applying a quality coating over an active moisture issue is money wasted.
Check cracks before they become a paint problem
Fine, stable hairline cracks are common on rendered surfaces and can often be repaired with a flexible exterior filler or crack repair compound. Larger cracks, spreading cracks or sections of render that sound hollow when tapped may indicate movement or failed adhesion. These need assessment and repair before any painting begins.
For a polished finish, repairs should be feathered carefully and allowed to dry fully. On textured render, matching the existing texture is just as important as filling the crack. A smooth repair in a heavily textured wall will remain visible even after two coats of paint.
Clean and prepare the wall properly
A clean, sound surface gives primer and paint something reliable to bond to. Exterior rendered walls can collect dust, traffic grime, cobwebs, mould and airborne pollutants, while internal rendered walls may have marks, grease or residue from previous coatings.
Wash exterior walls with a suitable exterior cleaner and rinse thoroughly. A pressure washer can be useful, but excessive pressure can damage soft or deteriorating render and force water into cracks. Use a controlled setting and keep the nozzle moving. For internal walls, use sugar soap or a mild cleaner as appropriate, then allow the surface to dry.
Treat mould with a proper mould treatment rather than painting straight over it. Once it has been removed and the area has dried, investigate why it formed. Bathrooms, shaded elevations and walls near poorly ventilated areas may need improved airflow or repairs alongside repainting.
Scrape back any loose or flaking paint until only firmly adhered coating remains. Sand rough edges to reduce visible ridges, then remove all dust. Bare repairs, exposed render and areas with different levels of porosity should be spot-primed or sealed so the topcoats dry evenly.
Choose primer and paint that suit rendered walls
The correct paint system depends on the condition and location of the wall. Exterior render needs a breathable, flexible masonry coating that can cope with heat, rain and minor substrate movement. Interior render usually requires a quality acrylic wall paint, selected for the room’s level of wear and moisture.
On bare, porous or chalky render, use an appropriate masonry sealer or primer. This helps regulate absorption, improves adhesion and prevents the finish coats from sinking in unevenly. If the wall has been painted before and the existing coating is sound, a full primer coat may not always be necessary, but repairs and bare patches still need attention.
Avoid choosing paint on colour alone. Dark colours absorb more heat and may place additional stress on sun-exposed render, particularly on western and northern elevations. They can look striking, but the trade-off is greater movement in the surface and a higher risk of premature cracking where the render system is already vulnerable.
For external walls, choose a low-sheen or matt masonry finish where appropriate. It is generally more forgiving of minor surface irregularities than a higher sheen. For interior feature walls, sheen level comes down to the look required, but higher-sheen finishes will highlight every imperfection in the render.
Apply the coating in the right conditions
Painting conditions matter as much as product selection. Do not start when rain is expected, when the wall is wet, or when direct sun has made the surface excessively hot. Wind can carry dust onto fresh paint and cause coatings to dry too fast. Cold, damp conditions can slow drying and affect curing.
Check the product label for its temperature and recoat requirements. In Melbourne, a wall can be cool and damp early in the morning, then receive strong afternoon sun. Planning the work around the aspect of the building helps maintain a consistent finish.
Cut in, roll evenly and maintain a wet edge
Start by cutting in around windows, doors, eaves, downpipes and other edges with a quality brush. Then use a roller suited to the texture of the render. A longer nap roller holds more paint and reaches into a rougher surface, while a shorter nap may suit smoother acrylic render.
Work in manageable sections from top to bottom, maintaining a wet edge as you go. Do not spread the paint too thinly in an effort to make it travel further. Render is porous and textured, so it often requires more product than a smooth plasterboard wall. Thin coverage can leave pinholes, inconsistent colour and reduced weather protection.
Two full coats are standard for most rendered walls after suitable preparation and priming. Allow the first coat to dry for the specified recoat time before applying the second. Rushing the process can affect adhesion and leave roller marks or uneven sheen.
Airless spraying can be efficient on larger rendered surfaces, but it requires careful masking, product control and back-rolling where needed to work paint into the texture. It is often best handled by experienced painters, particularly around neighbouring properties, glazing, landscaping and occupied commercial sites.
Protect the finish after painting
Fresh paint may feel dry within hours, but it continues curing after that. Keep sprinklers away from exterior walls, avoid leaning ladders or materials against the surface, and take care when reinstalling fittings. For internal walls, delay heavy cleaning until the coating has cured according to the manufacturer’s guidance.
A simple maintenance routine extends the life of the finish. Wash off dirt and cobwebs periodically, keep gutters and downpipes in good repair, trim vegetation away from walls and address cracks early. These small measures reduce moisture exposure and stop minor defects becoming larger repairs.
When a professional painter is the sensible choice
A straightforward internal rendered wall may be suitable for a capable homeowner. Larger exterior elevations, multi-storey properties, extensive cracking, heritage render or buildings with access constraints call for a more controlled approach. Commercial sites, schools and strata properties also need proper site safety, clear staging and work scheduled to minimise disruption.
The Scotsman Painters brings more than 30 years of Melbourne experience to rendered wall preparation and repainting, with qualified and insured tradesmen able to manage residential, commercial and complex access requirements. The value is not simply in applying paint. It is in identifying the surface issues that can compromise the result before they become an expensive callback.
A rendered wall rewards careful preparation. Take the time to resolve moisture, repairs and adhesion first, and the final coat will do what it is meant to do: protect the building while giving it a clean, well-finished appearance.